

When we moved in back in May the plan was that this winter we (meaning I) would go room by room painting and designing/decorating. Now that winter is basically over I’ve actually started. As I mentioned in a past post, I chose to start with my office. The previous owners used this room as a small bedroom. I suspect it was last pained in the 90s as a baby’s nursery and never really updated. It was this awful two tone Pepto-Bismol pink (pictures don’t do it justice in the ugliness). Plus someone had filled in nail holes as if they planned to paint then never did anything else. The room really just looked dirty and pink. They even painted the light fixture.

I started by pulling everything I could from the room. The desk was too big to remove unless I took it apart, so I opted to leave it in the room and paint it there given it was 10 degrees outside. The desk was a cheap find ($40) from craigslist a couple years ago for a temporary office for our landscaping business. I have not been able to decide on a desk for this room so until I do I opted to paint the desk to give it a facelift. Laminate is not a cooperative material to repaint, so I ended up using 2 coats of primer we already had, then 2 coats of black paint & primer designed for multiple surface types. This I also had on hand from when I painted our dining room table.
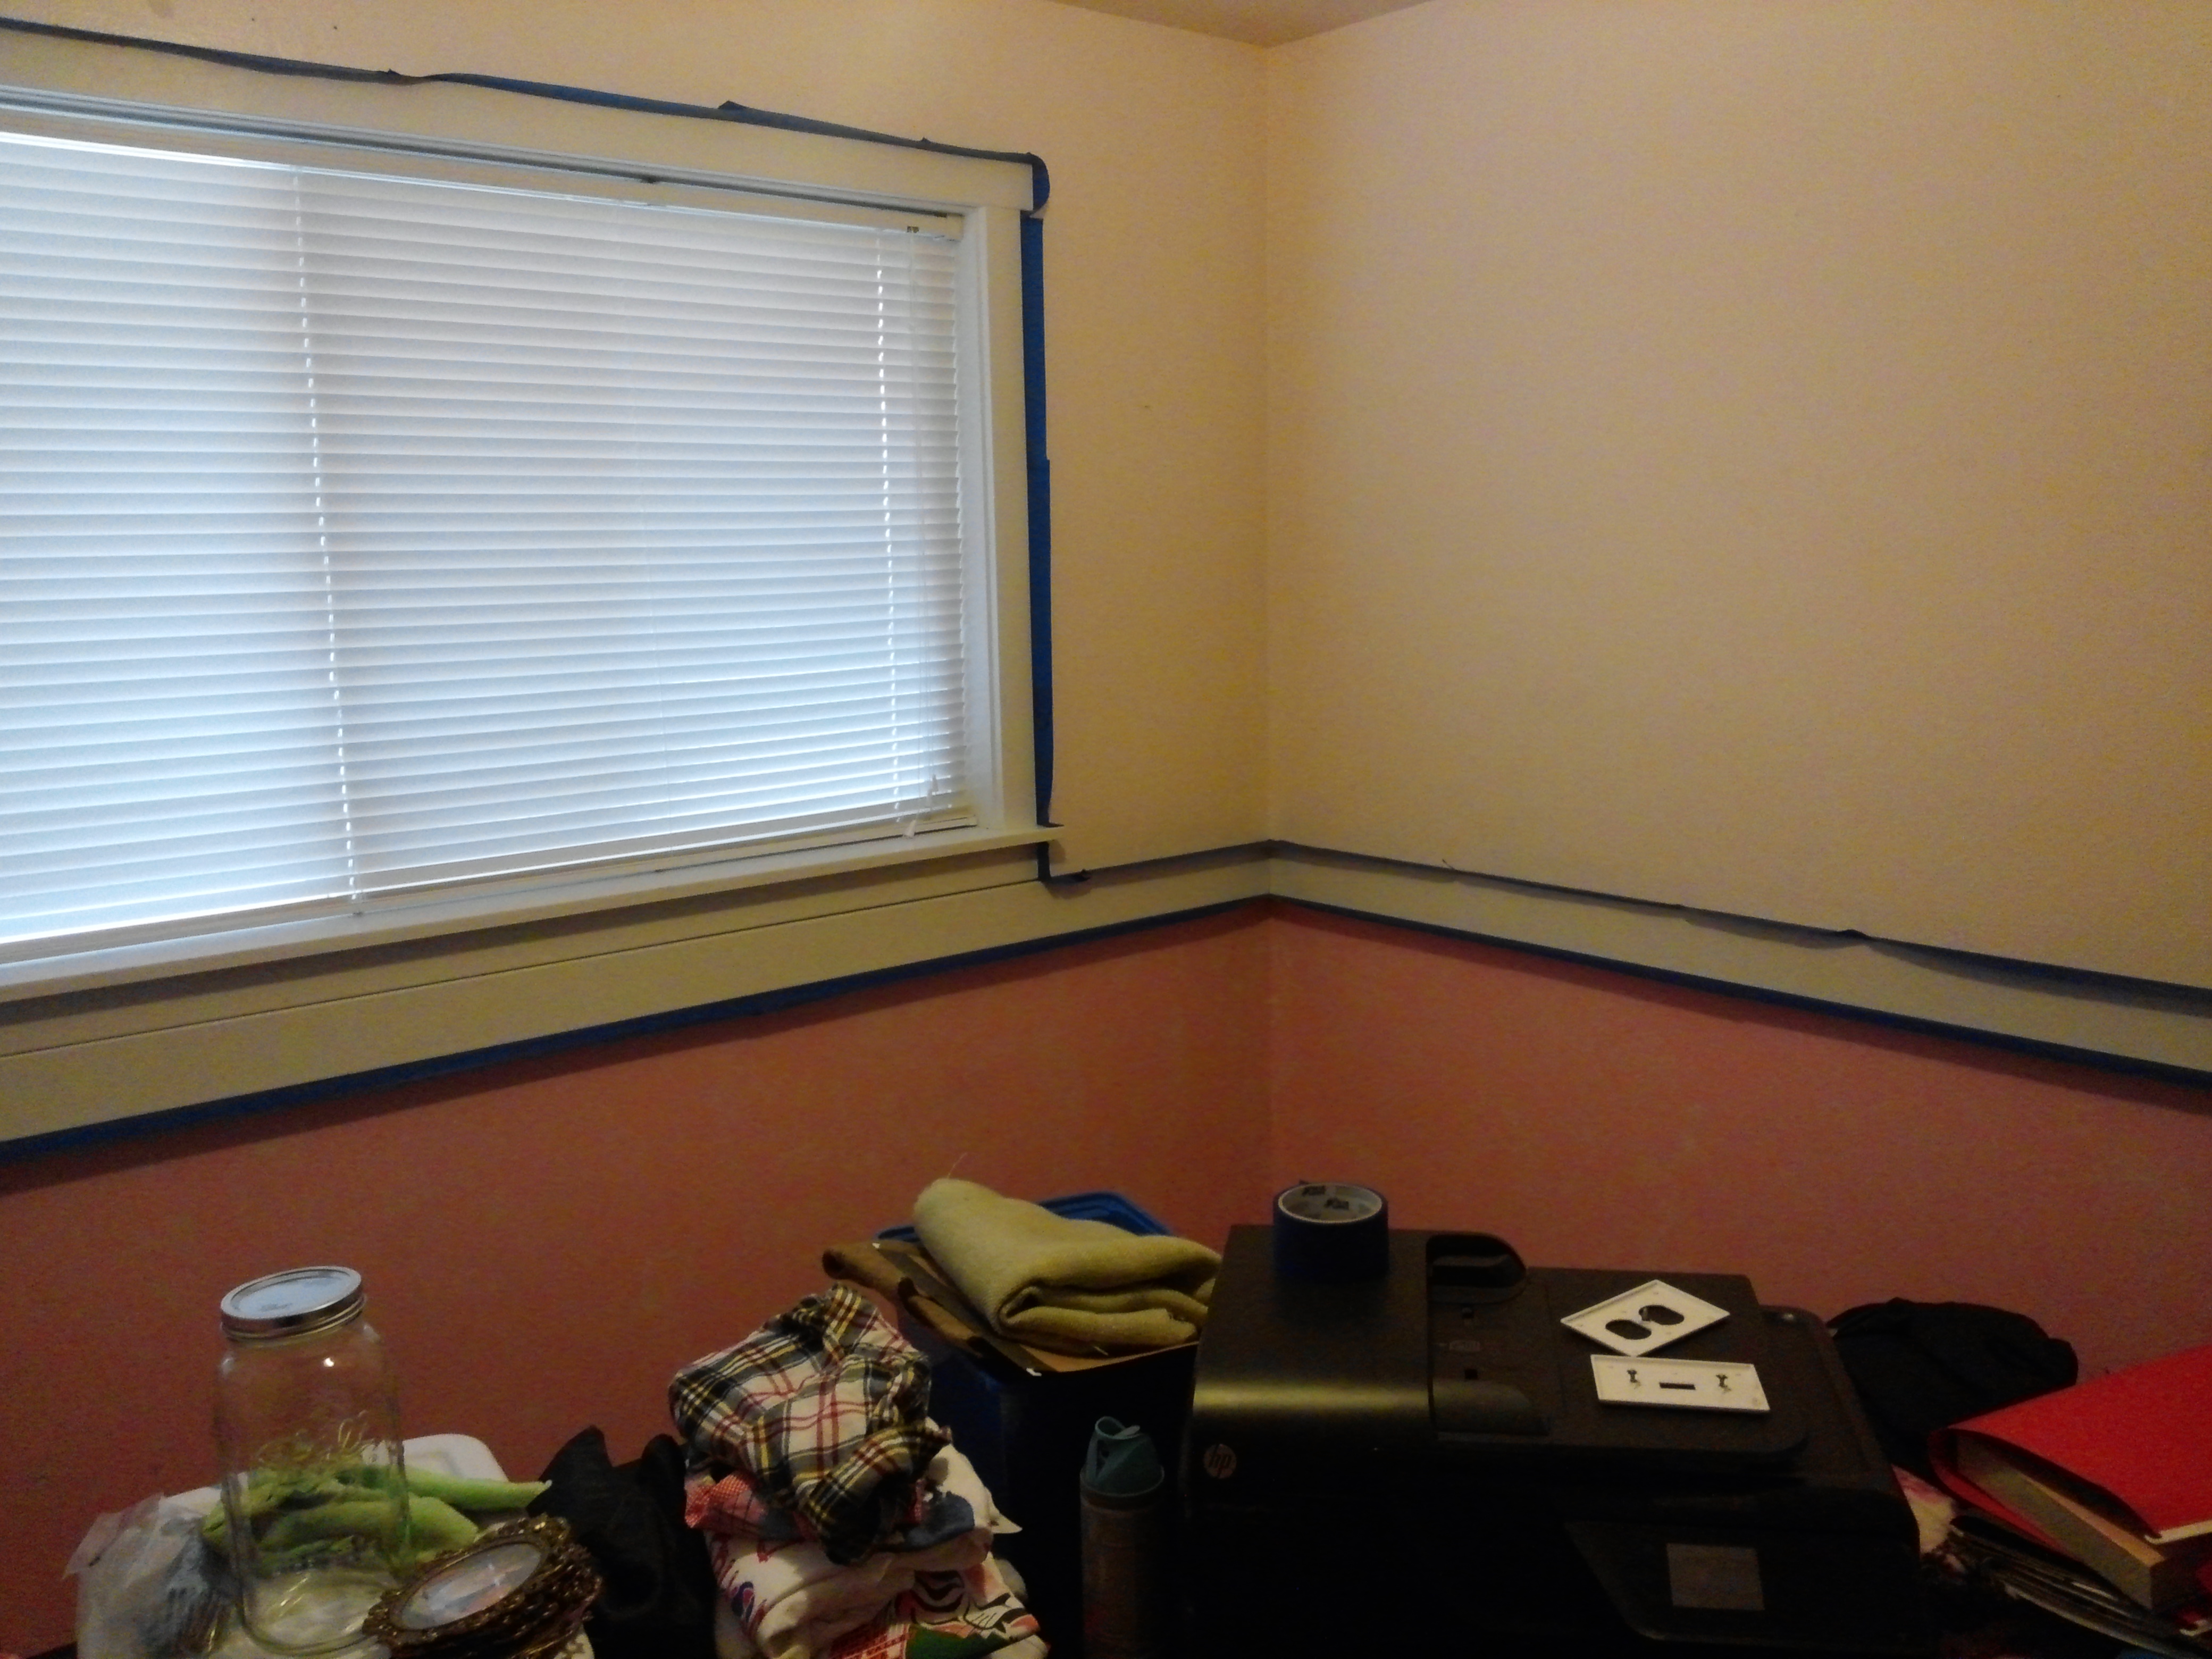
Next I took on the floors. These floors are rough. They are original to the home, but it looks like the previous owners pulled the carpet and stopped at that. They have not been sanded or treated at all. Plus the boards have shrunk over the years, and it looks like there have been spills that the wood soaked up and left stains. I’m still not sure what I want to do with the floors, so I’ve started by washing them and treating them with wood oil. I used a few coats, the wood is so dried out it absorbs the oil like a sponge.

Next I chose my paint pallet. I love teal so that’s where I started. I also chose a midgrade paint primer mix. The first time I painted a room I was in early grade school and was painting apartments at the retirement home my grandma ran, and for whatever reason I love painting. I’m not a messy person when I paint, so I tend to tape off the edges and go. This time I purchased a paint sheet to cover the desk and few items stacked on top so I can set tools and a wet washrag on it without worry.
Once the room was taped off I started with the main colors. I had to use two coats of the teal for proper coverage. I then let it dry for a few hours before working on the trim. I’m not a patient person so I opted out for letting it fully dry and re-taping before starting the trim. I used a medium size art paint brush for the trim portion against the wall, a larger brush for the main trim, and then for the flat portion on the chair rail I used a small roller.

The final step was style and functionality. I chose not to bring back in the tall file cabinets. I had 2 short drawer sets from an old desk removed from my work office. These were already black, so that was an added plus. I also found a weird 80s wall shelf that was in a closet when we moved in. I ditched the heart shape portion and turned it into a table top shelf and added a rod for my ribbon spools. Then I found the different things that really symbolize me. I pulled my 1st SLR from its storage hideout and put it up for display. I also hung my favorite historical picture, and one of my own prints. I hung my 1st public art show award, and my sons T-ball pictures from last year. I left one wall open, and plan to pick up a large frame at Ikea and have one of my black and white prints enlarged for display. The closet has great storage, but it’s not pretty so I’ll be keeping the door closed.


Overall I love my new space. The room update only cost me $180.00. Purchased supplies included: paint, rollers, tape, painters sheet, and a new light fixture.

That looks so good, Kel!
LikeLike